The 20 best tips to take great smartphone pictures
It can be quite hard to find someone who doesn’t usually take pictures on their smartphone nowadays, but they are not usually that great. Considering that the lenses in these devices are getting more and more advanced, the need for investing in a standalone camera is vanishing.
Luckily, it is becoming easier and easier to take great pictures with a smartphone, even more so if you know how to take advantage of your dual (or triple, or quadruple) cameras! That, alongside some apps to remove Image background and apps to correct imperfections, as well as some other editions, will ensure an amazing result!
If you’re curious about how to achieve these amazing results we’re talking about, you can check out our best tips down below!
Tip: If you like taking pictures for Instagram and you want to get more popular on the platform, check out the most popular Instagram hashtags, our Instagram bio ideas, and the websites to get Instagram followers!
1. Check the resolution
Most of the current smartphones offer a Full HD or even a 4K resolution on their cameras. Even so, they usually come with a lower resolution as their preset.
This is to help you avoid filling up your device storage with pictures in its highest resolution, but it is not ideal for anyone who wants high-quality pictures. For that reason, be sure to check your camera settings before you start taking your photos and recording your videos.
2. Pay attention to the focus
Another important aspect to pay attention to before you start capturing new images is the camera’s focus. It is recommended that you don’t use the auto-focus feature that comes turned on by default on most modern smartphones.
That is because the device’s software might decide to simply focus a different object, person, or random moving thing right when you’re about to take your picture. If your default camera application doesn’t let you use manual focus, download another camera app that offers this feature.
3. Don’t use the flash
It is really common among many people to prefer using the flash when trying to take great pictures on a smartphone. This might help in darker environments (particularly if your phone doesn’t have a good night mode), but it typically just makes everything uglier, weirdly colored and leaves people with red-eyes.
In the end, it will result in your pictures looking very amateur-ish, particularly so if you don’t know when you should actually use flash. Other than that, the flash that smartphones do have is tyícally weak and doesn’t bring many benefits at all, even on the right occasions.
4. Don’t use digital zoom
Another factor that just doesn’t work right on most phones is their zoom. Since the smartphones that do offer optical zoom (in which case it is fine to use) are few and far in between, it is best to just completely forget about it.
The digital zoom doesn’t actually “bring the image closer” or anything of the sort. In fact, what it does is crop the original image the phone would take. That means you could get the same result by cropping the image on another app! Using the zoom will, just like using flash, result in a more amateur-ish looking result.
5. Take care of your lens
Maybe because it is a part of the smartphone’s body, a lot of people don’t really care about the camera lens on their device. However, this is probably the most important part of the device for anyone who wants to take great pictures on their smartphones.
Our time here is that you always keep your lens well-protected (if your phone is newer, you can even buy a tempered glass protector for it), keep it clean, and pay attention if the glass that protects it didn’t fall off. This is quite unusual to happen, but if it did, you have to take it to be repaired!]
6. Take several shots at the same time
It’s unlikely that you’ll take the perfect picture on your first try, and for that reason, we suggest that you take several pictures of the same thing you want to capture, without thinking too much about it.
The best part is that this way you can try out several different angles and positions much more quickly and more naturally, which can result in an unexpectedly great picture that’s nothing like you’d originally expected!
7. Use special gadgets
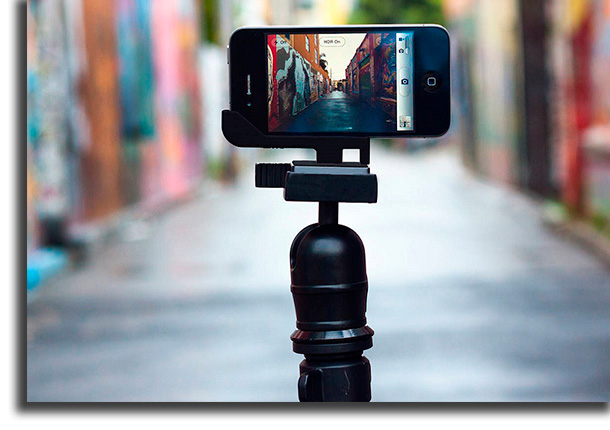
Nowadays, it is possible to find several different types of random gadgets to take some absolutely great photos on your smartphone. Other than tripods and other stabilization and support gizmos, there are also some special lenses you can try out.
Typically, these lenses give a different and special effect to your pictures, be it with a zoom effect or even with the well-known fisheye effect. In any case, this is a great way for you to get different results.
8. Use both hands
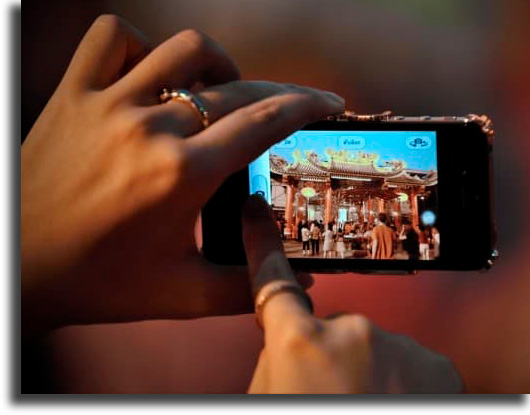
Except in the case that you’re taking a selfie – and if that is the case, check out here how to make a round profile photo on Instagram -, it is important that you use your two hands to try to take great pictures on your smartphone.
This will help you keep everything as steady as possible to get a much better framing. If you try to take a photo with a single hand, it is easy to get a shaky shot.
9. Use the framing feature
Almost all current smartphones offer you the possibility of adding a gridline on your screen so that you can have a better idea of how well your photos’ framing is. It is extremely important that you use this feature so that the pictures you take on your smartphone are great.
This way, you can better adjust the angle of your shots and to decide what should be centered. It is also a good way to avoid the people or objects in your pictures looking crooked or with missing parts or limbs.
10. Always take landscape shots
Even though it is common for us to view pictures with our phone in portrait mode, the pictures you take should always be in landscape mode. That is because you’ll not only have much more framing options, but you’ll naturally include more scenery around you, and it will look better overall.
Other than that, it also helps out when you try to view the pictures on any other devices, whether it is the TV, your computer monitor, or your laptop, or even if you want to print them out.
11. Test different distances
You can follow all the tips we have included in this list, but you can absolutely ruin a shot if you don’t nail the proper distance between the camera and the thing you want to capture. Getting too close or staying too far can be a big issue, but it can be hard to know the correct distance without testing before.
For that reason, we recommend that you test out different distances for the same photo anytime you can and take several shots so you have a better spatial awareness.
12. Pay attention to the background
Something quite common to see in more casual shots is unnecessary objects showing up in the background of the images, something that takes away the focus from what you really wanted to show in the image.
When adjusting the framing, start paying attention to it and remove anything you think is unnecessary. Just don’t take everything away, since having some objects will help you when creating a sense of depth in your final picture.
13. Ensure you have good lighting
One of the elements that make the pictures you take on your smartphone be actually great is the lightning, particularly so when it is natural light. Even so, some situations will require artificial light, we recommend that you always try out some alternatives with the lighting of the place you’re taking the picture.
Another tip is that you avoid placing strong lights directly on the photo’s object (unless the goal is an over exposition of this object), and that you use the shadows to your favor.
14. Use the HDR mode
Most current smartphones offer the HDR (High Dynamic Range) feature, one that can improve the quality of your photos by a large margin. It helps you get a great contrast, more vibrant colors, and a much more detailed shot than normal.
To do so, it takes three pictures automatically on different exposure levels and combines them on their best aspects, and only then does it give you the best possible result! Pictures taken using this feature might take a little longer if you have an older phone, but they’re worth it.
15. Use different perspectives
We also recommend that when you’re trying to take great smartphone pictures you don’t limit yourself to those with a more “plain” or “straight” feel to it. Play with the place’s perspective, particularly so if you’re taking a shot of scenery and not a person or an object.
To do so, you can try to use different angles or less uniform distances from one object to another. Of course, this doesn’t work well with all sorts of pictures, so it is a matter of trying it out to figure out what works and what doesn’t.
16. Edit your images
Of course, this is a tip for after you’ve already taken the pictures you wanted to take, but editing is necessary. Oftentimes, some light editing is everything you need to make an image that much more interesting.
You can apply a different filter, make one color be highlighted, blur an object or the background, and much more. We just recommend that you don’t do anything too extreme since this can draw a lot of negative attention to your shots.
Tip: You can also use some of the best apps to change hair color, many of which have good editing features!
17. Use manual control apps
It’s nothing new that the native camera apps on many smartphones leave you wanting for much more. They typically don’t have many options and settings, and a lot of its features are automatic.
That is terrible when trying to take different types of photos since you can barely change anything. Our suggestion is that you use specific apps that have manual settings. If you’re on Android, it is highly recommended that you use Open Camera. It doesn’t have many editing tools, but it is the most complete when it comes to its settings!
18. Blur the background
Another really interesting tip for you to take great pictures on your smartphone and that not many use is the blurring of the background. This type of feature is really commonly used by photographers, but we don’t see it much used on pictures taken on a phone.
There are some editing apps that let you easily blur, but some newer phones even offer this feature when taking your picture. In any case, this is an effect worth exploring.
19. Take moving pictures
If you want a more professional effect without having to do too much, you can try to take pictures in movement. These images are not really hard to take and can have a really interesting effect.
20. Use the shadows to your favor
We’ve already mentioned how important good lighting is for pictures, but we know you can’t always have that. And that is the reason why we suggest that you use the shadows to your favor.
Shadows can be used to cause a slightly dramatic effect on your picture, but nothing too extreme. Our suggestion is that you try out different types of shadows on the object or the person to be photographed before proceeding.
Did you like our tips on how to take great smartphone pictures?
Let us know in the comments if you enjoyed our list, and leave a comment with any other tips you have. Don’t forget to also check out our tips on what to do if you think Instagram is down, if your iPhone won’t turn on, if your laptop won’t turn on, and the most common iPhone charging mistakes!


