Adobe Spark Page: How to create websites with this tool?
To create a good webpage you need to have access to a complete tool. One that comes highly recommended is Adobe Spark Page, which offers a completely free version. Find out more about it through the link!
Read on below to learn all about it, plus learn how to use it!
What is Adobe Spark?
Before we explain to you how the process for creating a web page with Adobe Spark Page works, we will explain to you what it is in a relatively succinct way.
Adobe Spark is the name of an application package developed by Adobe. It features Adobe Spark Post, Adobe Spark Video, and Adobe Spark Page.
The first of the three is for creating graphics such as flyers and pamphlets. The second aims to create videos, working as one of the best video editors, being extremely complete with the most varied video editing tools, and allowing you to easily add text to videos.
Finally, the third is what we will cover in this guide. Through it, you will be able to create web pages very easily any way you want, for free.
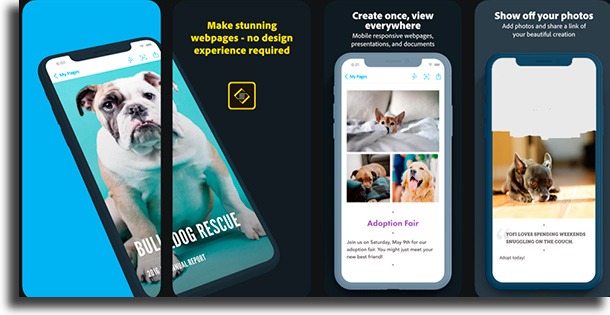
With Adobe Spark Page, you can perform the following functions:
- Add text either by typing or speaking;
- Use photos stored on your device, Lightroom library, or Creative Cloud files;
- Choose a layout you like so the app looks better;
- Choose from many themes to have a polished look;
- Change fonts and colors with just a tap;
- Adaptability to any device, whether it is a smartphone, a tablet, or a computer;
- Add call to action such as “Donate Now”, “Volunteer” or “Discover More”;
- Share your page on Twitter, Facebook, email, text message, and more.
In case you buy the pro version of Adobe Spark Page, you will be able to:
- Remove the Spark logo and add your own;
- Add logo, colors, select a font, and more;
- Customize all elements of the page;
- Have custom layouts and themes.
How to create websites with this tool?
With all of that in mind, now is the time to create your own page on Page. To do this, the first step is that you go to the platform’s official website or download the app on your iPhone. In this guide, we will use the web version.
- Now, you must then register on the platform;
- Then click the + button on the left side of the screen and Web Page;
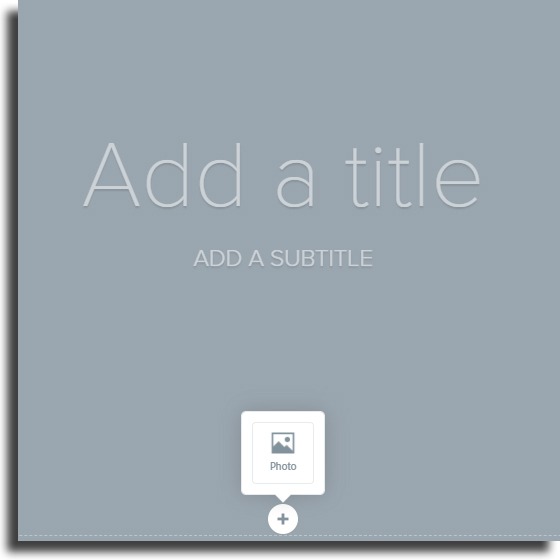
- On the screen you see, you can easily add a title and subtitle, just click and write;
- At the bottom of the screen is an icon that, when clicked, will allow you to add photos;
- To add more elements, just scroll down the screen. It is possible to add:
- Photo: Use this for a single photo of any shape or size, but not for groups of photos;
- Text: All text boxes will be added here, with the exception of image captions;
- Button: Add a link with a graphic;
- Video: It is currently not possible to directly upload a video to Adobe Spark Page. To add, you need to paste a link from Vimeo, YouTube, or Spark Video;
- Photo grid: Here it is possible to add several still photos, being really good for albums;
- Glideshow: Glideshow is for displaying multiple photos in sequence with transition effects. It is possible to add other photos and text on top of the images;
- Split layout: Finally, here it is possible to add two different elements to the same section of the page.
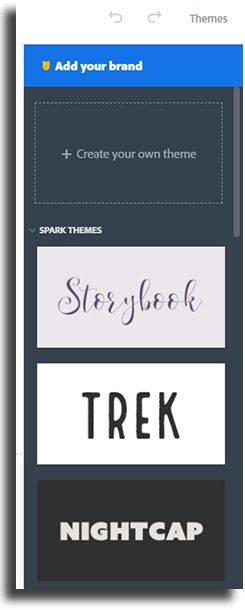
- In the upper right corner of the screen is a Themes button through which you can change the theme of your page. To create your own theme you must be a subscriber.
Now that you’ve done all that, you need to edit the elements you’ve added and think you need to. By clicking on each item a menu will appear for you to edit:
- For images, you can change the image, change the display mode and be able to alter the image so that it looks perfect on every screen;
- For texts, you can change the size, add quotes, add links, change the color, bold, and much more.
Finally, it’s time to finish the process and save your created page in Adobe Spark Page.
- Click the button at the top of the screen that says Share;
- Then click Publish and Share link;
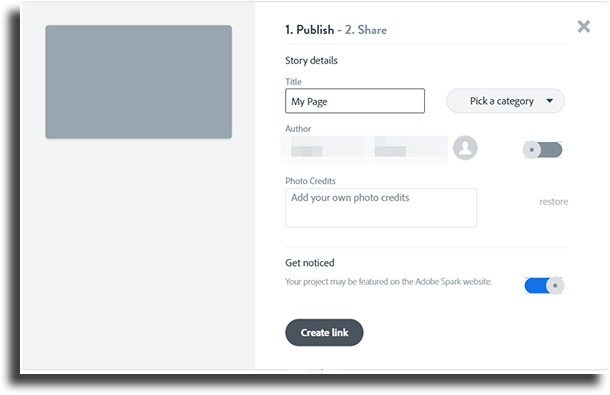
- Now, you must add the title of the page, its category, the author, the photo credits, and whether you want your page to be highlighted. Finally, click Create Link to be able to share on any social network you want!
So, did you like our guide on Adobe Spark Page?
Leave in the comments if you already knew this amazing tool offered by Adobe or if it was new to you. Come check out, as well, the best live chat for websites!


